
The RL02 disk drive and the RL11 (M7762) controller
How I got my unit..
I "met" Ed Groenenberg on vcfed.org where he wrote something on a tape unit that I was interested in. We started talking which ended with me visiting him. Ed has a very nice collection of ancient computing related material: a lot of teletypes, a PDP11/70 and a lot of other peripherals. And he had several RL02 drives - and gave me one! That was unexpected and I'm really happy with it, thanks Ed!
After a while I also got the RL11 (M7762) controller and cables that go with it, so now it's time to go and play with it..
Pictures
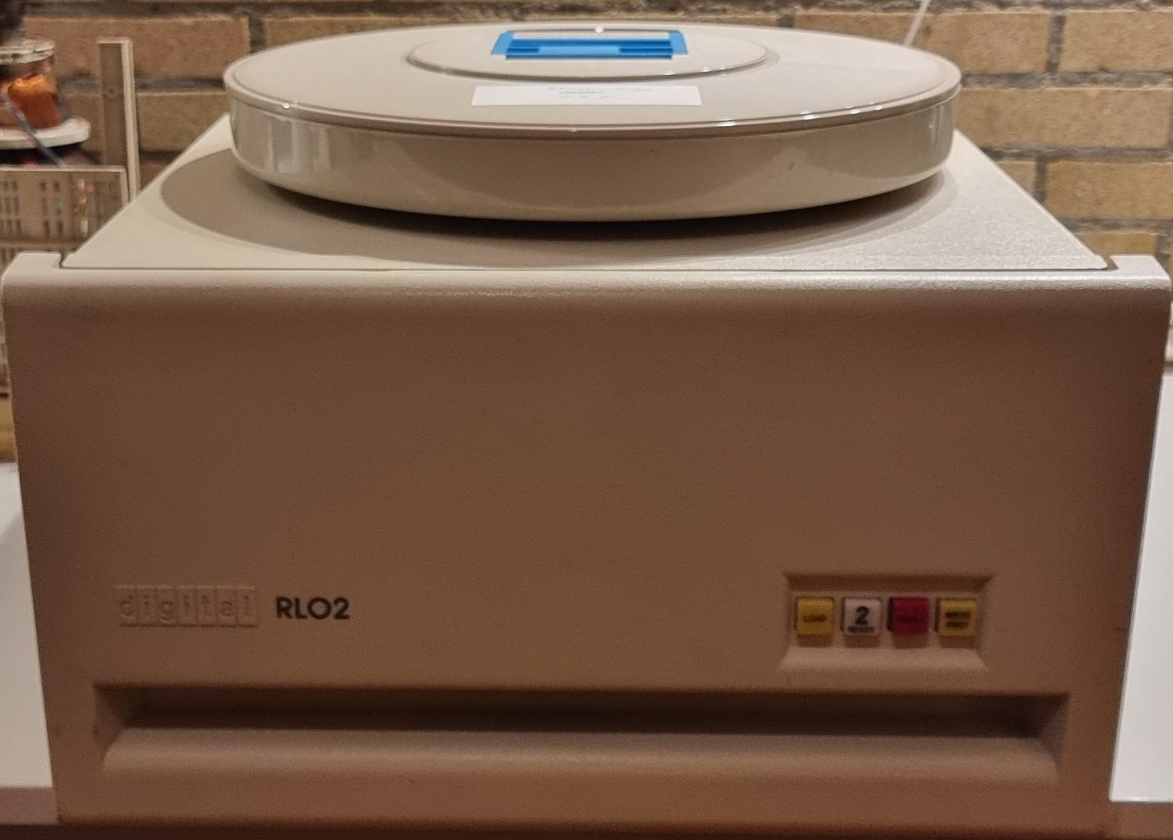
The RL02 drive is an impressive beast:
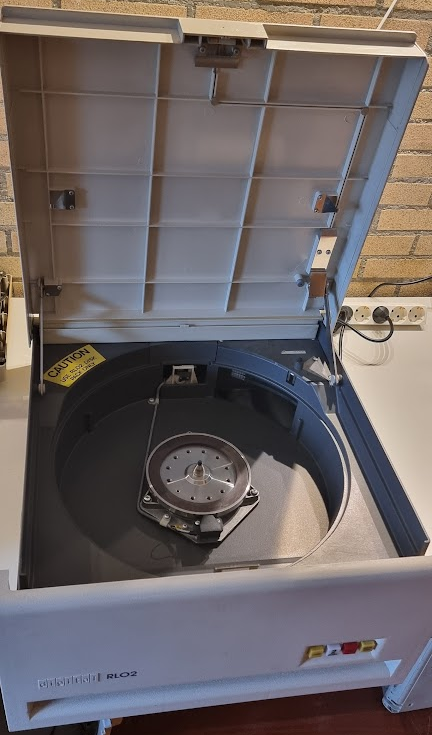
It opens at the top to insert the cartridges:
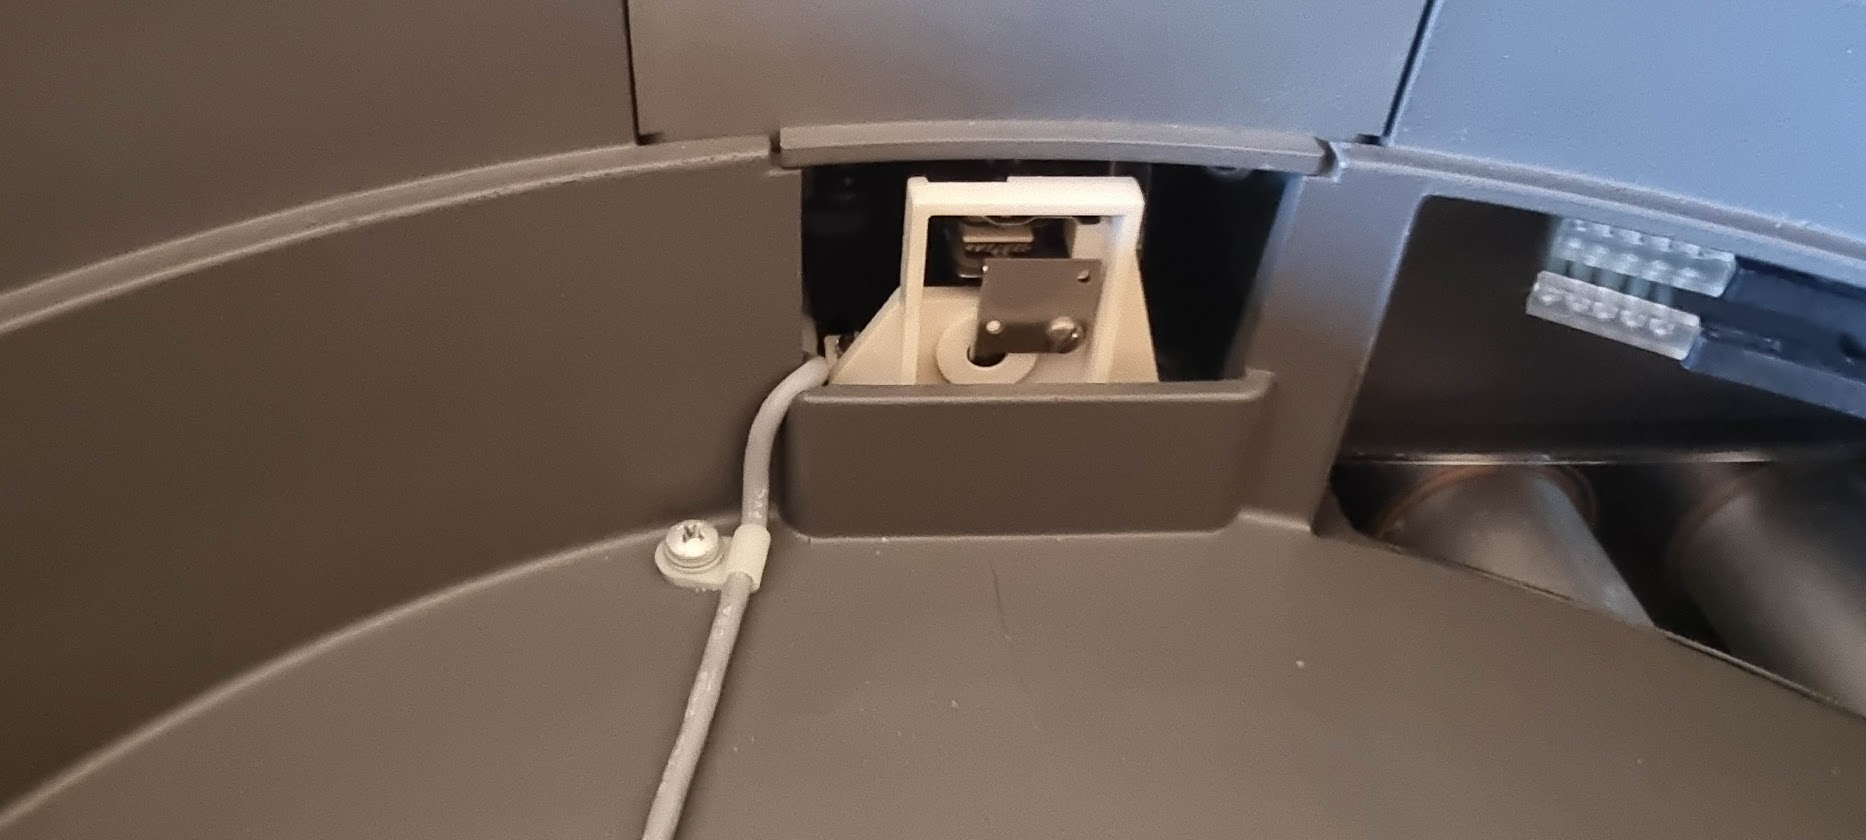
The heads were protected during the trip by this little plate:
Opening the back panel exposes the motor and the power supply:
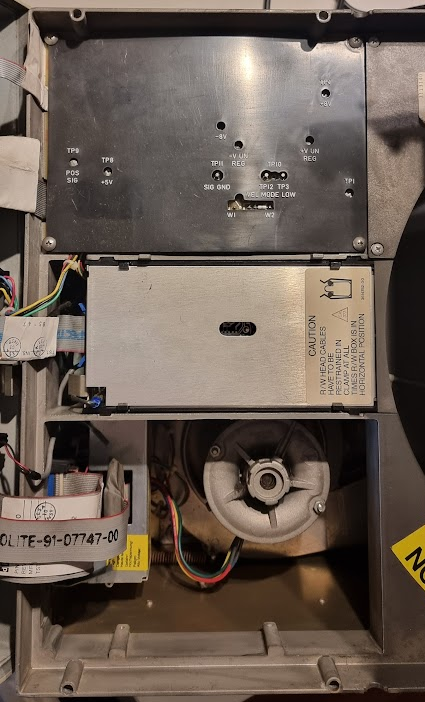
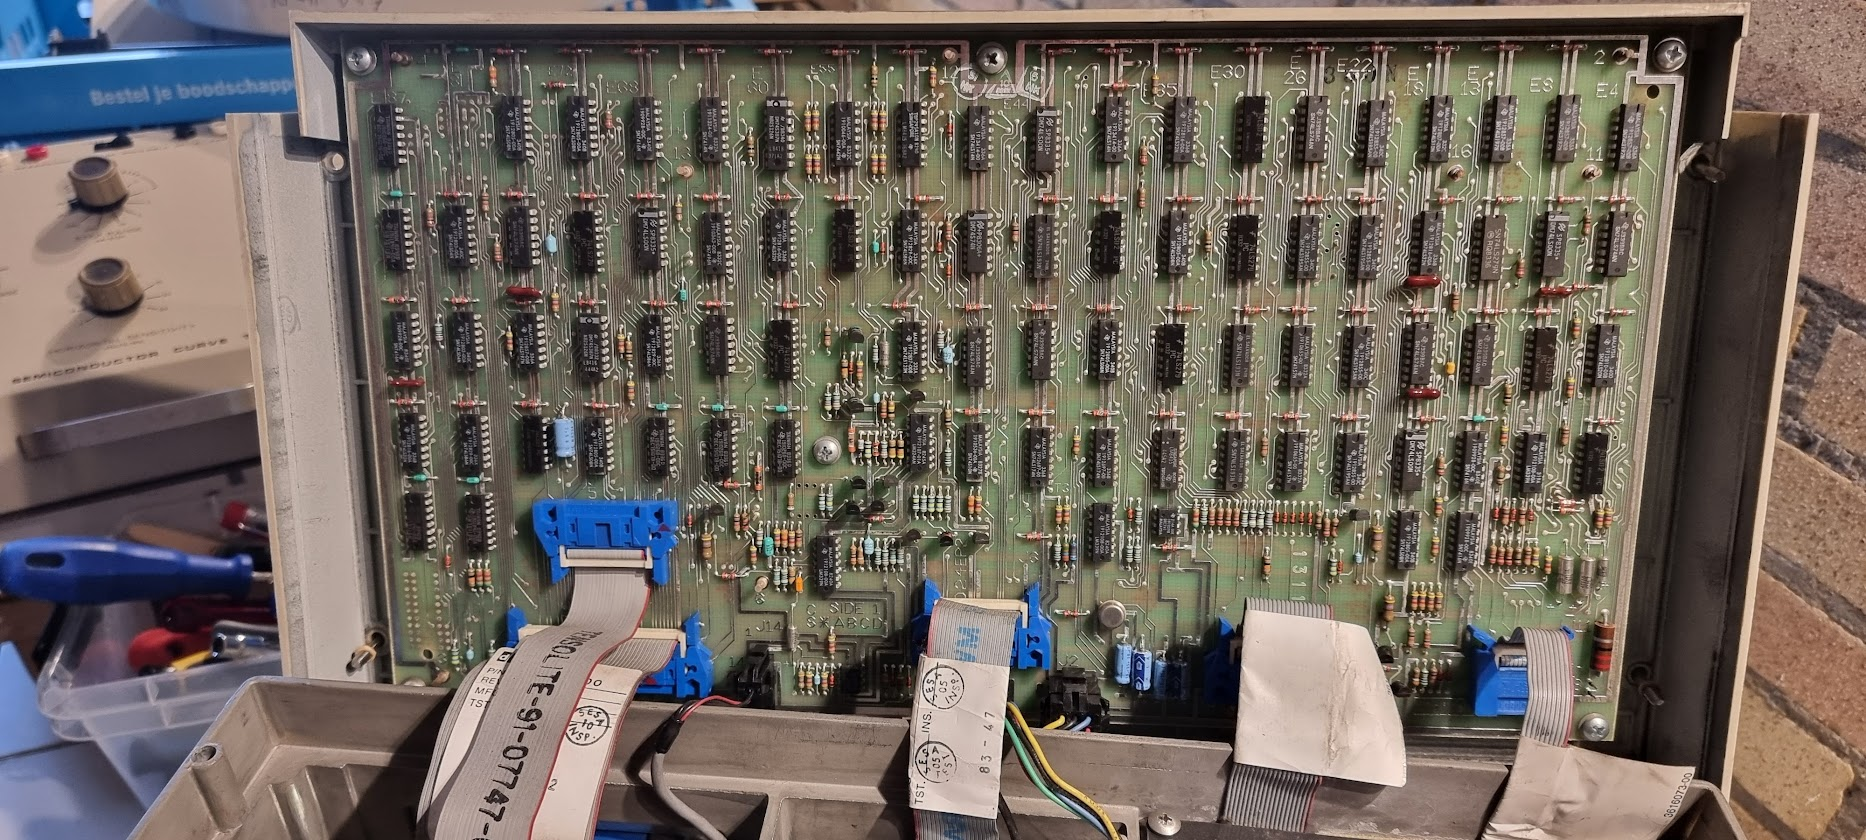
And the back panel itself holds the controller PCB:
The Drive number button
You can have max. 4 RL02 drives connected to a controller. Each drive has a drive number to identify it, from 0 to 3. The way the drive number is selected is quite special! The second "button" on the drive shows the drive number. This button can be removed! By simply replacing the button with a button that shows a different number you change the drive number. This works because the button holder has a number of microswitches that "sense" the cams at the end of the button. I only had a drive button 2, and many tools require a drive 0. Luckily someone created a 3D model for those drive buttons! Thanks a lot Vince Slyngstad!
A copy of these files can be found here: 0, 1, 2, 3.
Drive measurements
To make sure we have a properly working drive we need to do some measurements and alignment checks....
Getting it to work (controller 1)
The controller for this device is the RL11 (M7762). I have two of them, this is the first one:
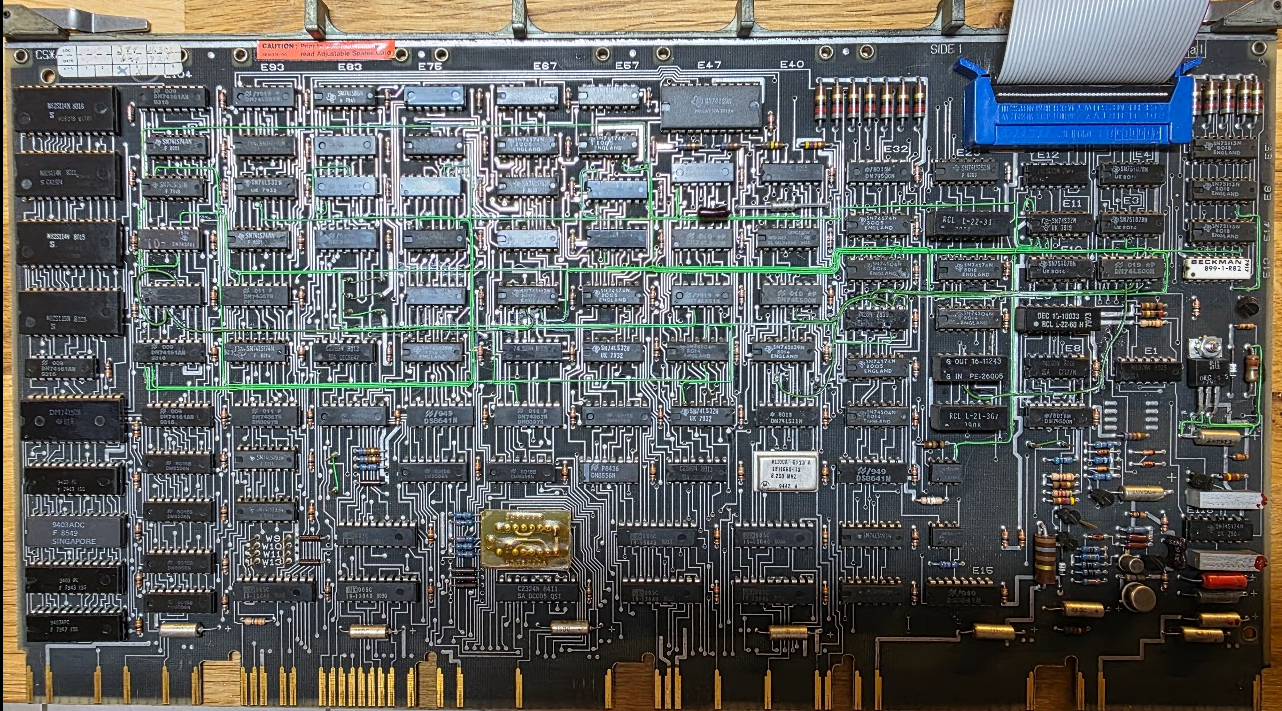
The controller was defective so it needed repairs.
This controller - and the drive - seem to work properly at this point.
Controller 1 - bad again
But a few months later the controller (or the drive) has a problem again...
Controller number 2
The second controller had a "defective module" label:
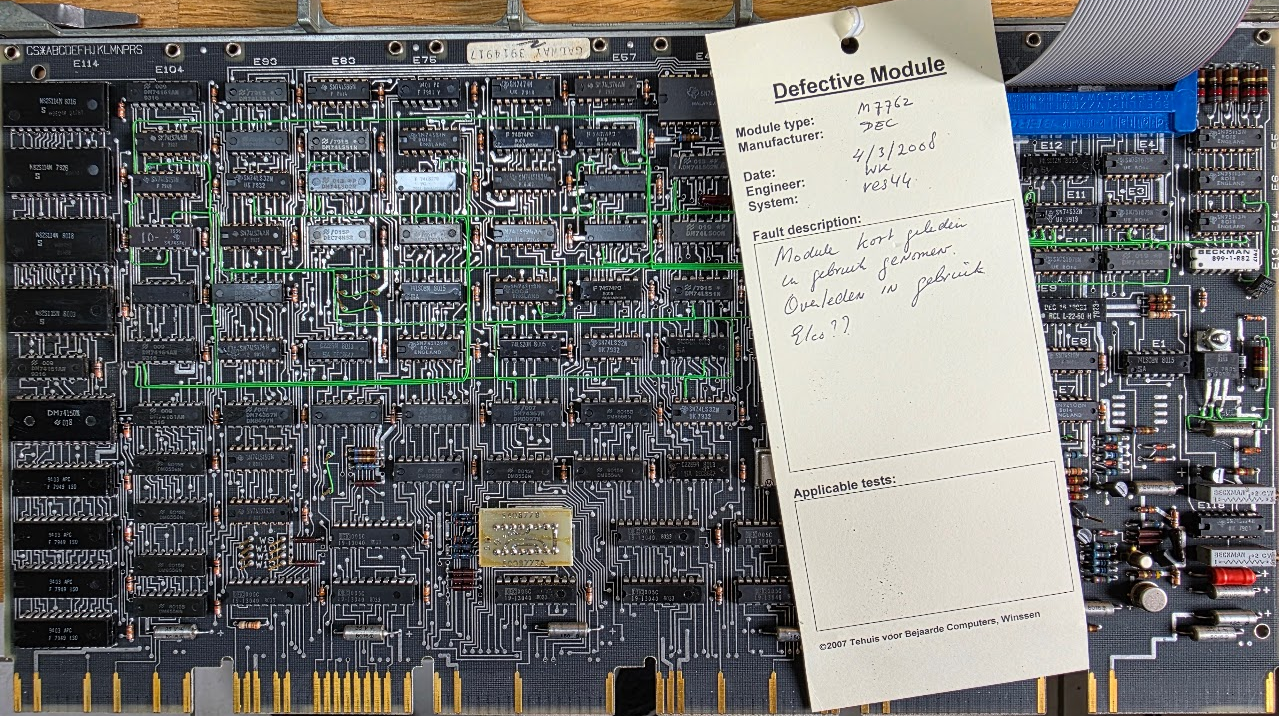
This also needed repairs, which was quite interesting.